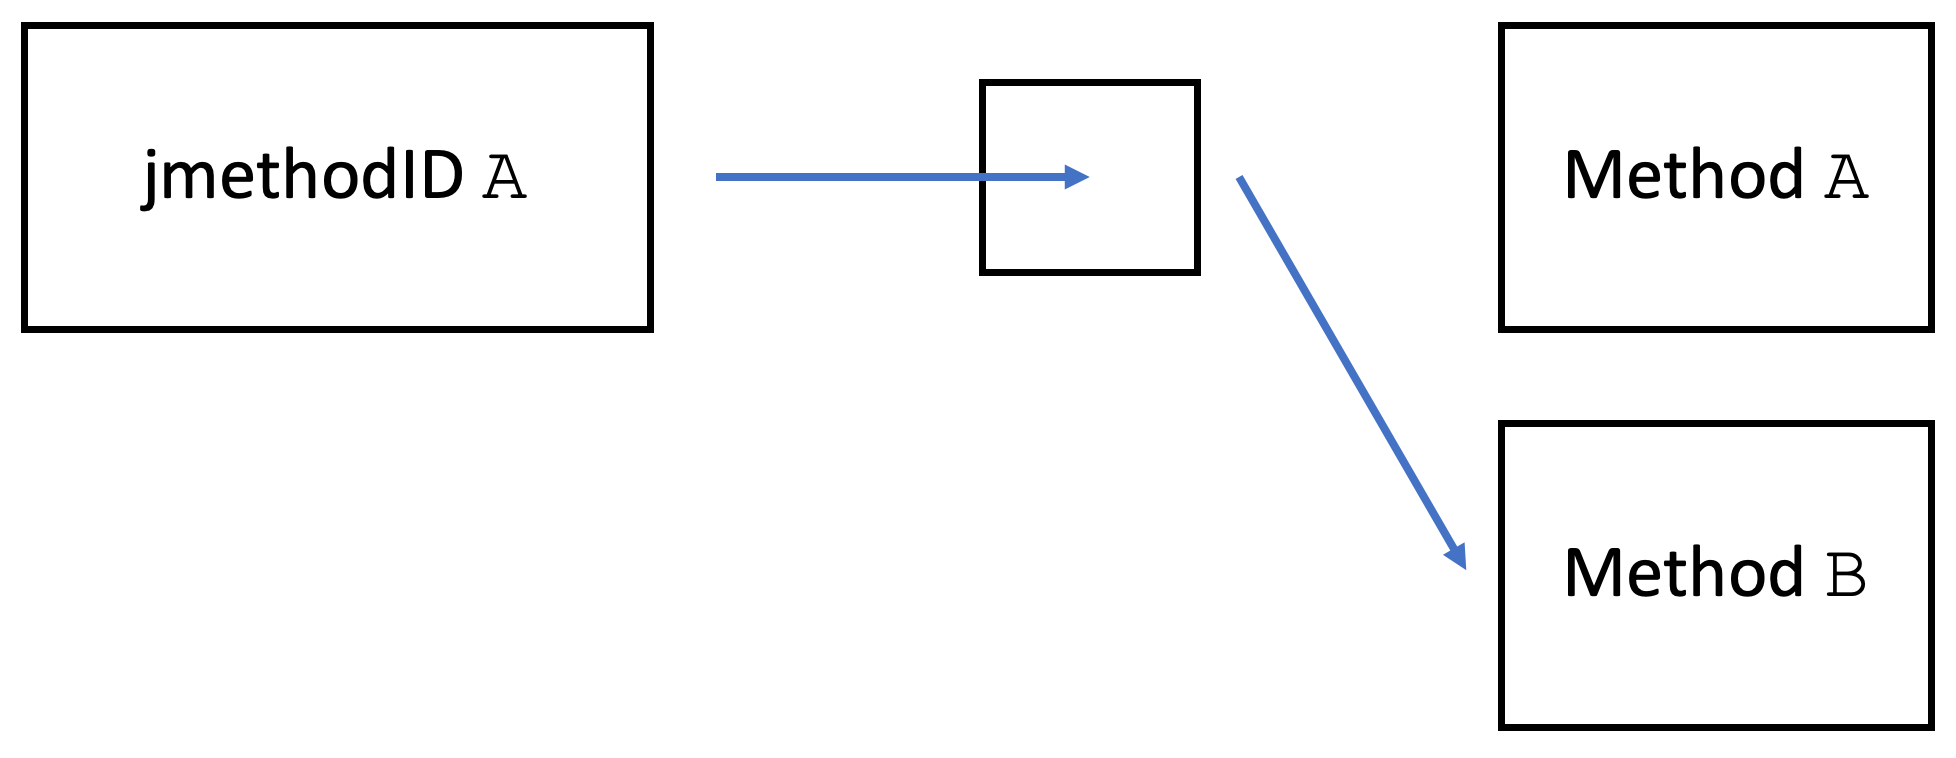
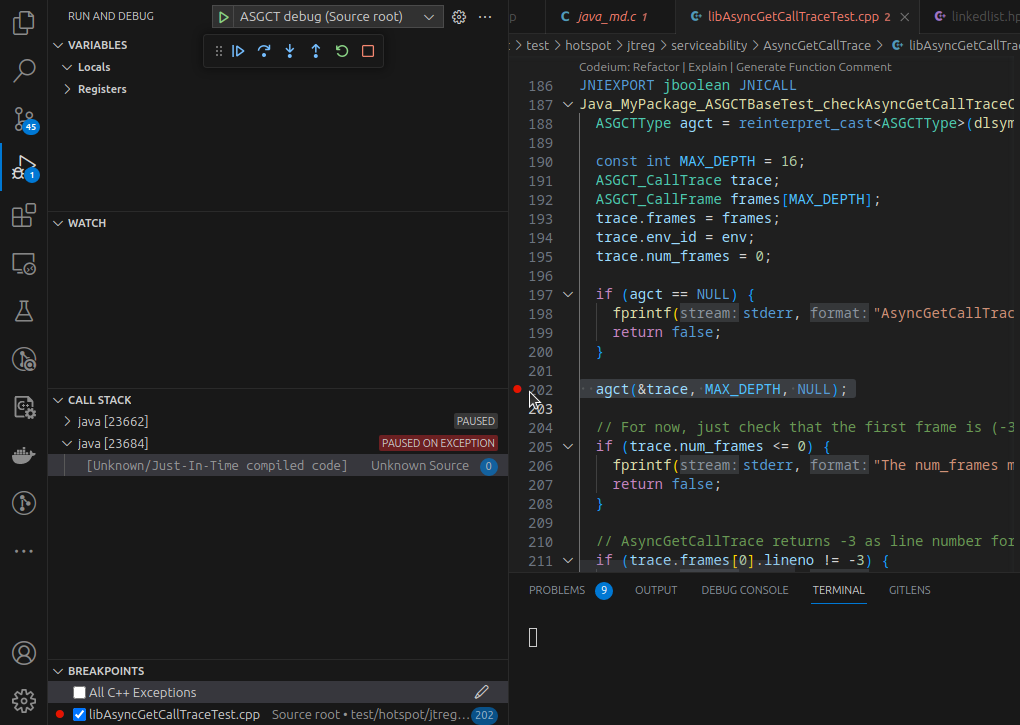
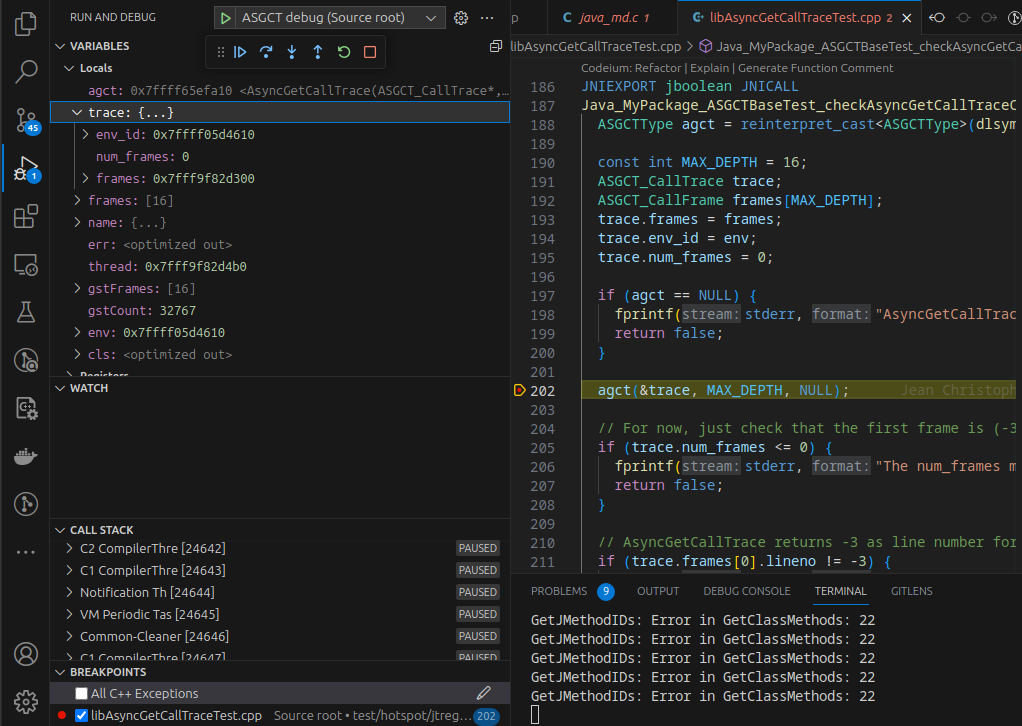
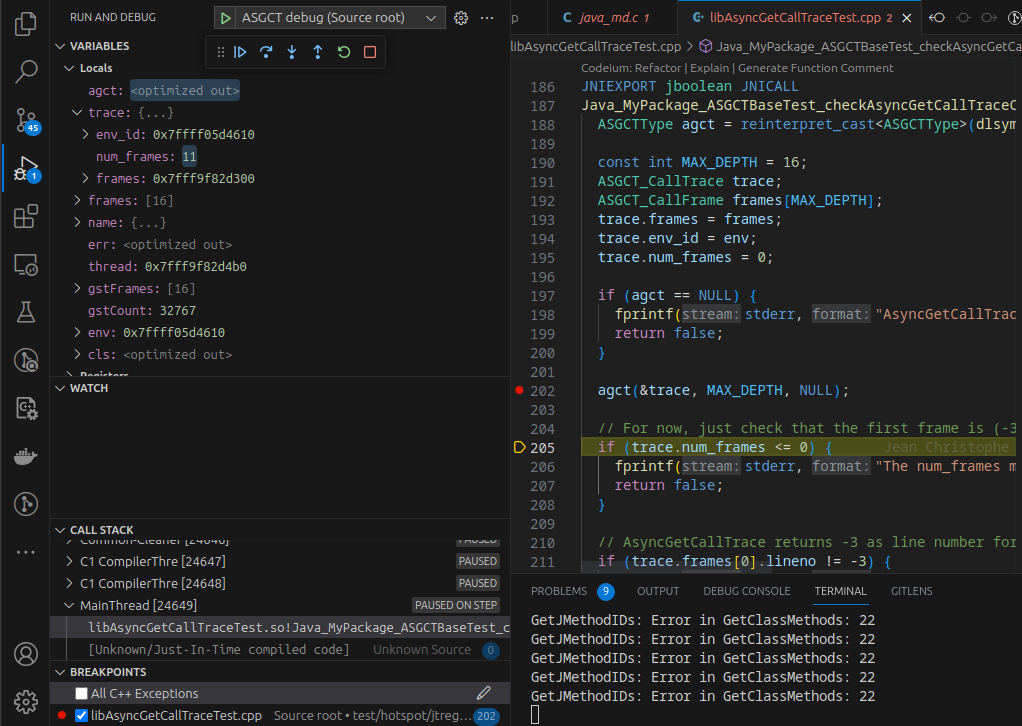
I worked too much on other stuff, so I didn’t have time to blog, so here is a tiny post.
Java annotations are pretty nice: You can annotate many things to add more information. For example, you can add an @Nullable to a type used to tell static analyzers or IDEs that this the value of this type there might actually be null:
There are many other uses, especially in adding more information needed for code generation. In working on hello-ebpf, I used annotations and generated code with JavaPoet containing annotations. When we generate the code from above with JavaPoet, it produces:
This denotes a two-dimensional array of strings that might be null and might contain null, and its arrays might contain null. This is true to the language specification:
There is even an example in the specification that is similar to our example:
For example, given the field declaration:
@Foo int f;
@Foo is a declaration annotation on f if Foo is meta-annotated by @Target(ElementType.FIELD), and a type annotation on int if Foo is meta-annotated by @Target(ElementType.TYPE_USE). It is possible for @Foo to be both a declaration annotation and a type annotation simultaneously.
Type annotations can apply to an array type or any component type thereof (§10.1). For example, assuming that A, B, and C are annotation interfaces meta-annotated with @Target(ElementType.TYPE_USE), then given the field declaration:
@C int @A [] @B [] f;
@A applies to the array type int[][], @B applies to its component type int[], and @C applies to the element type int. For more examples, see §10.2.
An important property of this syntax is that, in two declarations that differ only in the number of array levels, the annotations to the left of the type refer to the same type. For example, @C applies to the type int in all of the following declarations:
Java never stops surprising me. This syntax looked weird when I first stumbled upon it, but after looking through the language specification, I see how useful and justified this placement of annotations is.
I hope you enjoyed this tiny blog post on annotations; see you in my next one.
A few months ago, I told you about the onjcmd feature in my blog post Level-up your Java Debugging Skills with on-demand Debugging (which is coming to JavaLand 2024). The short version is that adding onjcmd=y to the list of JDWP options allows you to delay accepting the incoming connection request in the JDWP agent until jcmd <JVM pid> VM.start_java_debugging is called.
The main idea is that the JDWP agent
only listens on the debugging port after it is triggered, which could have some security benefits
and that the JDWP agent causes less overhead while waiting, compared to just accepting connections from the beginning.
The first point is debatable; one can find arguments for and against it. But for the second point, we can run some benchmarks. After renewed discussions, I started benchmarking to conclude whether the onjcmd feature improves on-demand debugging performance. Spoiler alert: It doesn’t.
Renaissance is a modern, open, and diversified benchmark suite for the JVM, aimed at testing JIT compilers, garbage collectors, profilers, analyzers and other tools.
Renaissance is a benchmarking suite that contains a range of modern workloads, comprising of various popular systems, frameworks and applications made for the JVM.
Renaissance benchmarks exercise a range of programming paradigms, including concurrent, parallel, functional and object-oriented programming.
Renaissance typically runs the sub-benchmarks in multiple iterations. Still, I decided to run the sub-benchmarks just once per Renaissance run (via -r 1) and instead run Renaissance itself ten times using hyperfine to get a proper run-time distribution. I compared three different executions of Renaissance for this blog post:
without JDWP: Running Renaissance without any debugging enabled, to have an appropriate baseline, via java -jar renaissance.jar all -r 1
with JDWP: Running Renaissance in debugging mode, with the JDWP agent accepting debugging connections the whole time without suspending the JVM, via java -agentlib:jdwp=transport=dt_socket,server=y,suspend=n,address=*:5005 -jar renaissance.jar all -r 1
with onjcmd: Running Renaissance in debugging mode, with the JDWP agent accepting debugging connections only after the jcmd call without suspending the JVM, via java -agentlib:jdwp=transport=dt_socket,server=y,suspend=n,onjcmd=y,address=*:5005 -jar renaissance.jar all -r 1
Remember that we never start a debugging session or use jcmd, as we’re only interested in the performance of the JVM while waiting for a debugging connection in the JDWP agent.
Yes, I know that Renaissance uses different iteration numbers for the sub-benchmarks, but this should not affect the overall conclusions from the benchmark.
Results
Now to the results. For a current JDK 21 on my Ubuntu 23.10 machine with a ThreadRipper 3995WX CPU, hyperfine obtains the following benchmarks:
Benchmark 1: without JDWP
Time (mean ± σ): 211.075 s ± 1.307 s [User: 4413.810 s, System: 1438.235 s]
Range (min … max): 209.667 s … 213.361 s 10 runs
Benchmark 2: with JDWP
Time (mean ± σ): 218.985 s ± 1.924 s [User: 4533.024 s, System: 1133.126 s]
Range (min … max): 216.673 s … 222.249 s 10 runs
Benchmark 3: with onjcmd
Time (mean ± σ): 219.469 s ± 1.185 s [User: 4537.213 s, System: 1181.856 s]
Range (min … max): 217.824 s … 221.316 s 10 runs
Summary
"without JDWP" ran
1.04 ± 0.01 times faster than "with JDWP"
1.04 ± 0.01 times faster than "with onjcmd"
You can see that the run-time difference between “with JDWP” and “with onjcmd” is 0.5s, way below the standard deviations of both benchmarks. Plotting the benchmark results using box plots visualizes this fact:
Or, more analytically, Welch’s t-test doesn’t rule out the possibility of both benchmarks producing the same run-time distribution with p=0.5. There is, therefore, no measurable effect on the performance if we use the onjcmd feature. But what we do notice is that enabling the JDWP agent results in an increase in the run-time by 4%.
The question is then: Why has it been implemented in the JDK at all? Let’s run Renaissance on JDK 11.0.3, the first release supporting onjcmd.
Results on JDK 11.0.3
Here, using onjcmd results in a significant performance improvement of a factor of 1.5 (from 354 to 248 seconds) compared to running the JDWP agent without it:
Benchmark 1: without JDWP
Time (mean ± σ): 234.011 s ± 2.182 s [User: 5336.885 s, System: 706.926 s]
Range (min … max): 229.605 s … 237.845 s 10 runs
Benchmark 2: with JDWP
Time (mean ± σ): 353.572 s ± 20.300 s [User: 4680.987 s, System: 643.978 s]
Range (min … max): 329.610 s … 402.410 s 10 runs
Benchmark 3: with onjcmd
Time (mean ± σ): 247.766 s ± 1.907 s [User: 4690.555 s, System: 609.904 s]
Range (min … max): 245.575 s … 251.026 s 10 runs
Summary
"without JDWP" ran
1.06 ± 0.01 times faster than "with onjcmd"
1.51 ± 0.09 times faster than "with JDWP"
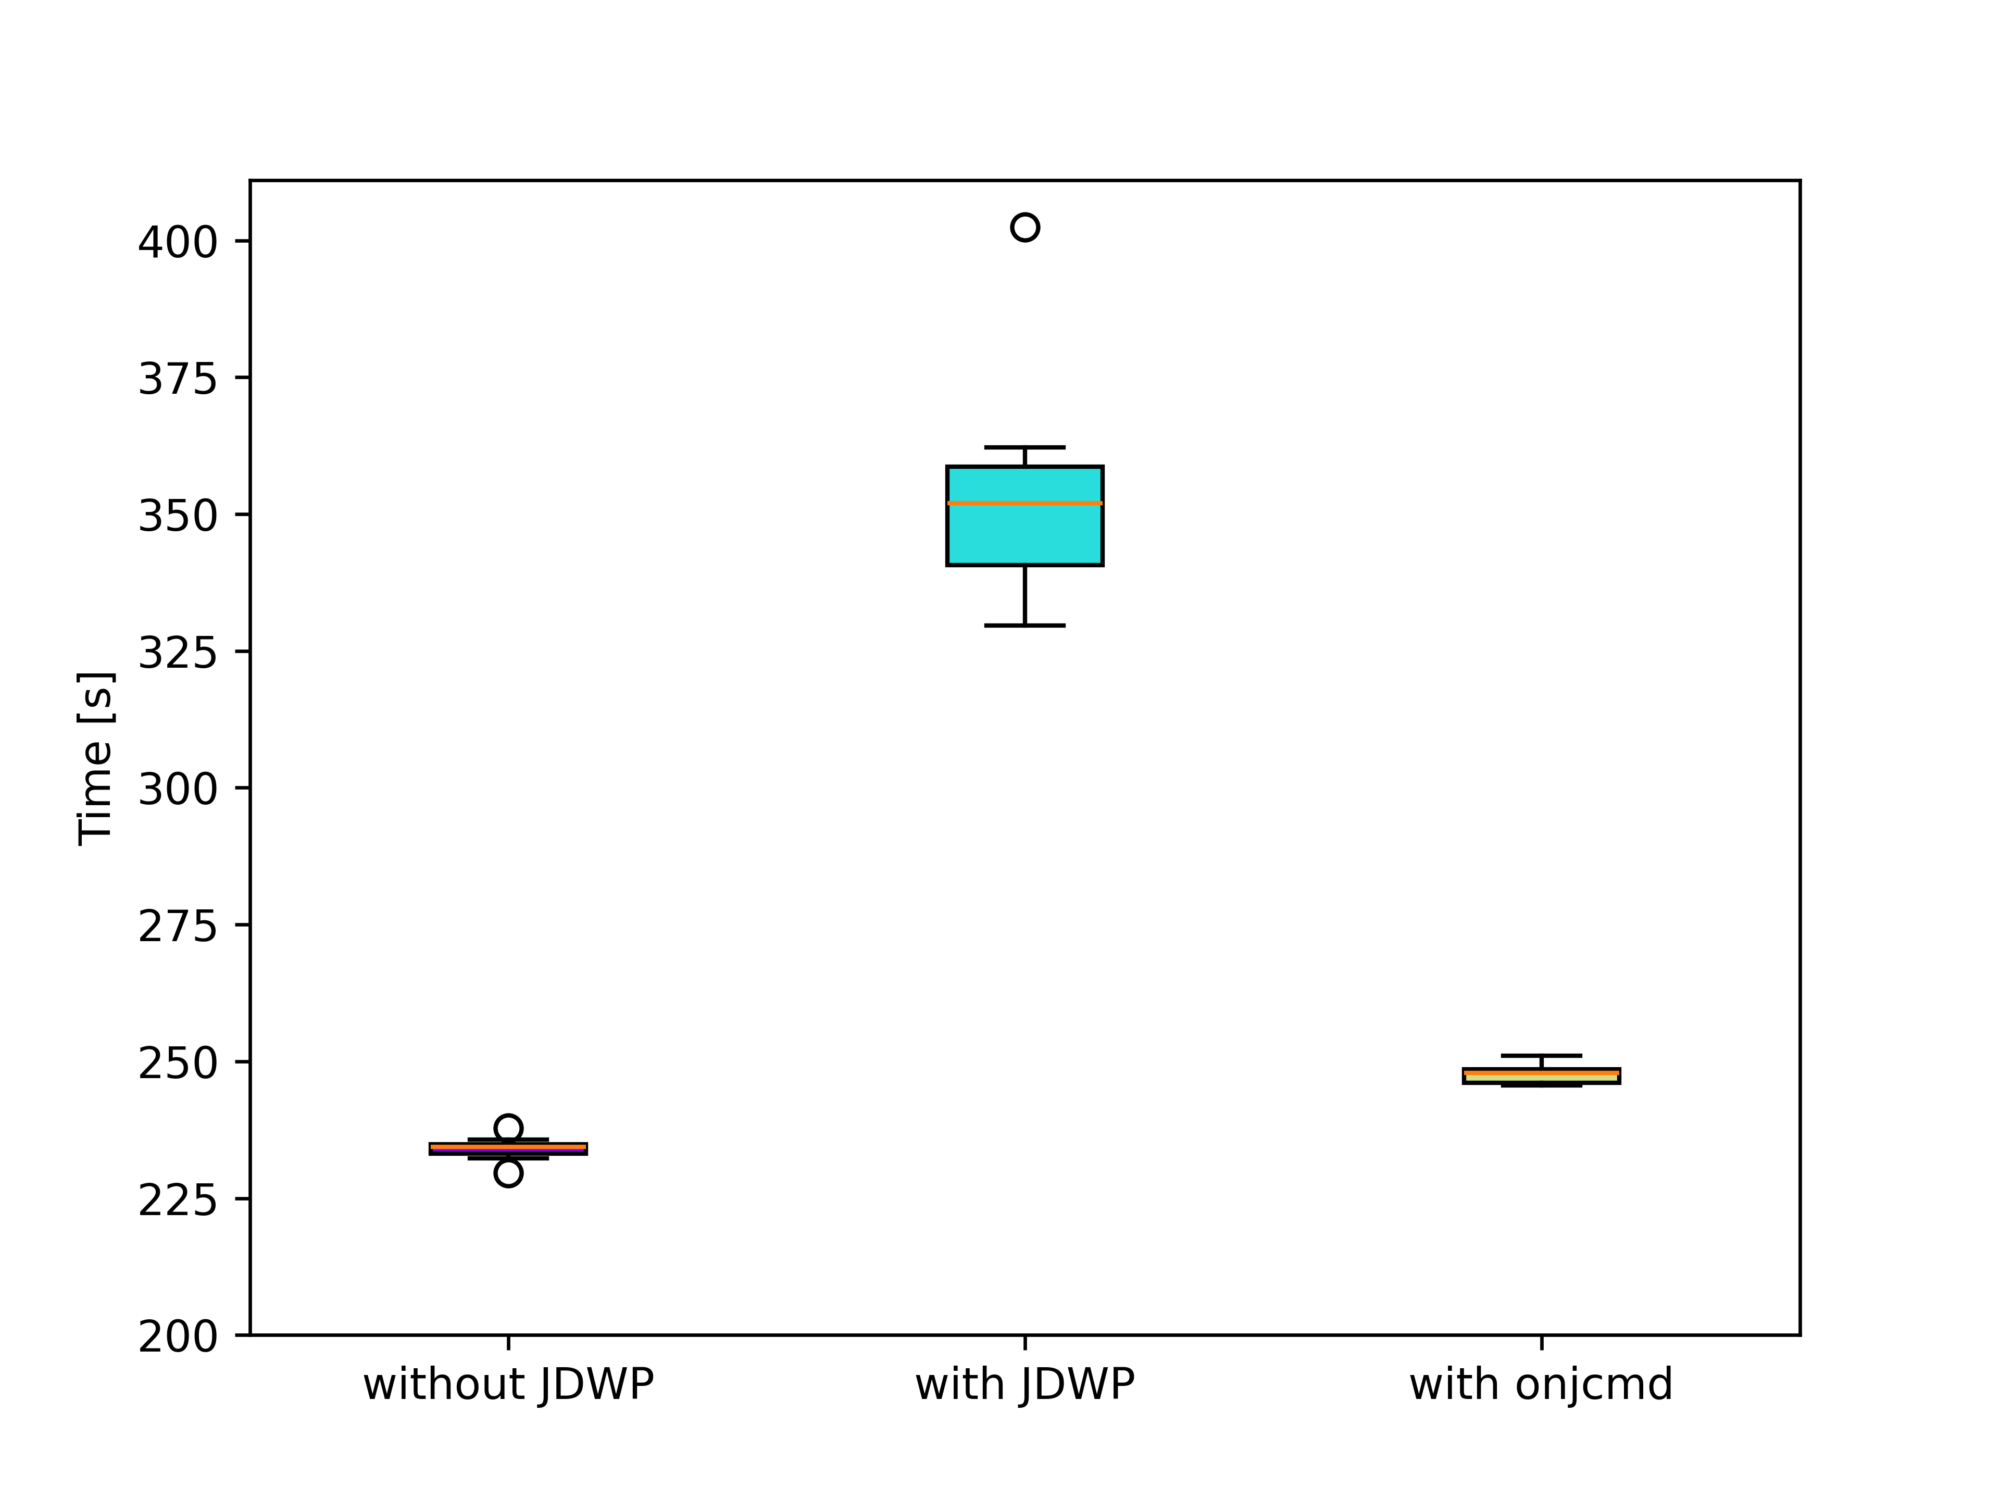
We excluded the finagle-chirper sub-benchmark here, as it causes the run-time to increase drastically. The sub-benchmark alone does not cause any problems, so the GC run possibly causes the performance hit before the sub-benchmark, which cleans up after the dotty sub-benchmark. Dotty is run directly before finagle-chirper.
Please be aware that the run sub-benchmarks on JDK 11 differ from the run on JDK 21, so don’t compare it to the results for JDK 21.
But what explains this difference?
Fixes since JDK 11.0.3
Between JDK 11.0.3 and JDK 21, there have been improvements to the OpenJDK, some of which drastically improved the performance of the JVM in debugging mode. Most notable is the fix for JDK-8227269 by Roman Kennke. The issue, reported by Egor Ushakov, reads as follows:
Slow class loading when running with JDWP
When debug mode is active (-agentlib:jdwp), an application spends a lot of time in JVM internals like Unsafe.defineAnonymousClass or Class.getDeclaredConstructors.Sometimes this happens on EDT and UI freezes occur.
If we look into the code, we’ll see that whenever a new class is loaded and an event about it is delivered, when a garbage collection has occurred, classTrack_processUnloads iterates over all loaded classes to see if any of them have been unloaded. This leads to O(classCount * gcCount) performance, which in case of frequent GCs (and they are frequent, especially the minor ones) is close to O(classCount^2). In IDEA, we have quite a lot of classes, especially counting all lambdas, so this results in quite significant overhead.
This change came into the JDK with 11.0.9. We see the 11.0.3 results with 11.0.8, but with 11.0.9, we see the results of the current JDK 11:
Benchmark 1: without JDWP
Time (mean ± σ): 234.647 s ± 2.731 s [User: 5331.145 s, System: 701.760 s]
Range (min … max): 228.510 s … 238.323 s 10 runs
Benchmark 2: with JDWP
Time (mean ± σ): 250.043 s ± 3.587 s [User: 4628.578 s, System: 716.737 s]
Range (min … max): 242.515 s … 254.456 s 10 runs
Benchmark 3: with onjcmd
Time (mean ± σ): 249.689 s ± 1.765 s [User: 4788.539 s, System: 729.207 s]
Range (min … max): 246.324 s … 251.559 s 10 runs
Summary
"without JDWP" ran
1.06 ± 0.01 times faster than "with onjcmd"
1.07 ± 0.02 times faster than "with JDWP"
This clearly shows the significant impact of the change. 11.0.3 came out on Apr 18, 2019, and 11.0.9 on Jul 15, 2020, so the onjcmd improved on-demand debugging for almost a year.
Want to try this out yourself? Get the binaries from SapMachine and run the benchmarks yourself. This kind of performance archaeology is quite rewarding, giving you insights into critical performance issues.
Conclusion
A few years ago, it was definitely a good idea to add the onjcmd feature to have usable on-demand debugging performance-wise. But nowadays, we can just start the JDWP agent to wait for a connection and connect to it whenever we want to, without any measurable performance penalty (in the Renaissance benchmark).
This shows us that it is always valuable to reevaluate if specific features are worth the maintenance cost. I hope this blog post gave you some insights into the performance of on-demand debugging. See you next week for the next installment in my hello-ebpf series.
This article is part of my work in the SapMachine team at SAP, making profiling and debugging easier for everyone.
The Foreign Function & Memory API (also called Project Panama) has come a long way since it started. You can find the latest version implemented in JDK 21 as a preview feature (use --enable-preview to enable it) which is specified by the JEP 454:
By efficiently invoking foreign functions (i.e., code outside the JVM), and by safely accessing foreign memory (i.e., memory not managed by the JVM), the API enables Java programs to call native libraries and process native data without the brittleness and danger of JNI.
This is pretty helpful when trying to build wrappers around existing native libraries. Other languages, like Python with ctypes, have had this for a long time, but Java is getting a proper API for native interop, too. Of course, there is the Java Native Interface (JNI), but JNI is cumbersome and inefficient (call-sites aren’t inlined, and the overhead of converting data from Java to the native world and back is huge).
Be aware that the API is still in flux. Much of the existing non-OpenJDK documentation is not in sync.
Example
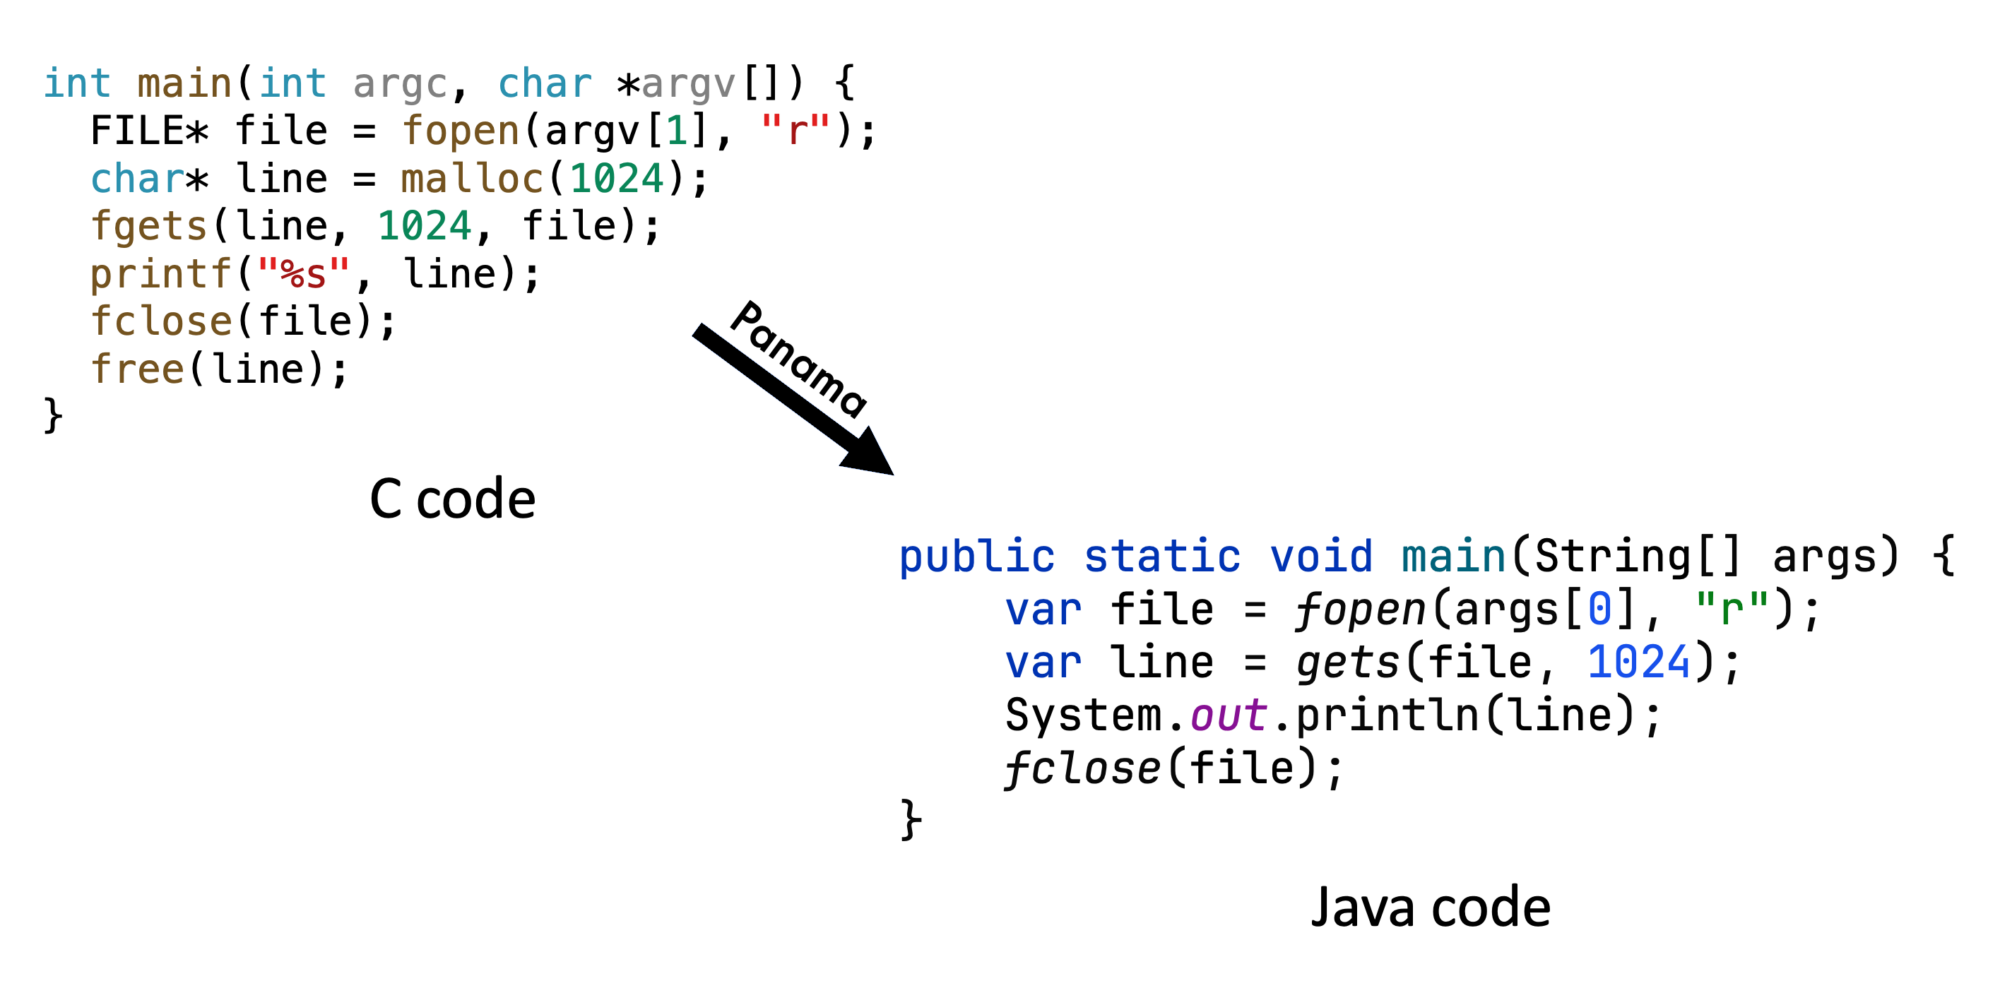
Now to my main example: Assume you’re tired of all the abstraction of the Java I/O API and just want to read a file using the traditional I/O functions of the C standard lib (like read_line.c): we’re trying to read the first line of the passed file, opening the file via fopen, reading the first line via gets, and closing the file via fclose.
This would have involved writing C code in the old JNI days, but we can access the required C functions directly with Panama, wrapping the C functions and writing the C program as follows in Java:
public static void main(String[] args) {
var file = fopen(args[0], "r");
var line = gets(file, 1024);
System.out.println(line);
fclose(file);
}
But do we implement the wrapper methods? We start with the FILE* fopen(char* file, char* mode) function which opens a file. Before we can call it, we have to get hold of its MethodHandle:
This looks up the fopen symbol in all the libraries that the current process has loaded, asking both the NativeLinker and the SymbolLookup. This code is used in many examples, so we move it into the function lookup:
The look-up returns the memory address at which the looked-up function is located.
We can proceed with the address of fopen and use it to create a MethodHandle that calls down from the JVM into native code. For this, we also have to specify the descriptor of the function so that the JVM knows how to call the fopen handle properly.
But how do we use this handle? Every handle has an invokeExact function (and an invoke function that allows the JVM to convert data) that we can use. The only problem is that we want to pass strings to the fopen call. We cannot pass the strings directly but instead have to allocate them onto the C heap, copying the chars into a C string:
In JDK 22 allocateUtf8String changes to allocateFrom (thanks Brice Dutheil for spotting this).
We use a confined arena for allocations, which is cleaned after exiting the try-catch. The newly allocated strings are then used to invoke fopen, letting us return the FILE*.
Older tutorials might mention MemorySessions, but they are removed in JDK 21.
After opening the file, we can focus on the char* fgets(char* buffer, int size, FILE* file) function. This function is passed a buffer of a given size, storing the next line from the passed file in the buffer.
Only the wrapper method differs because we have to allocate the buffer in the arena:
public static String gets(MemorySegment file, int size) {
try (var arena = Arena.ofConfined()) {
var buffer = arena.allocateArray(ValueLayout.JAVA_BYTE, size);
var ret = (MemorySegment) fgets.invokeExact(buffer, size, file);
if (ret == MemorySegment.NULL) {
return null; // error
}
return buffer.getUtf8String(0);
} catch (Throwable t) {
throw new RuntimeException(t);
}
}
Finally, we can implement the int fclose(FILE* file) function to close the file:
private static MethodHandle fclose = Linker.nativeLinker().downcallHandle(
PanamaUtil.lookup("fclose"),
FunctionDescriptor.of(ValueLayout.JAVA_INT, ValueLayout.ADDRESS));
public static int fclose(MemorySegment file) {
try {
return (int) fclose.invokeExact(file);
} catch (Throwable e) {
throw new RuntimeException(e);
}
}
You can find the source code in my panama-examples repository on GitHub (file HelloWorld.java) and run it on a Linux x86_64 machine via
> ./run.sh HelloWorld LICENSE # build and run
Apache License
which prints the first line of the license file.
Errno
We didn’t care much about error handling here, but sometimes, we want to know precisely why a C function failed. Luckily, the C standard library on Linux and other Unixes has errno:
Several standard library functions indicate errors by writing positive integers to errno.
On error, fopen returns a null pointer and sets errno. You can find information on all the possible error numbers on the man page for the open function.
We only have to have a way to obtain the errno directly after a call, we have to capture the call state and declare the capture-call-state option in the creation of the MethodHandle for fopen:
try (var arena = Arena.ofConfined()) {
// declare the errno as state to be captured,
// directly after the downcall without any interence of the
// JVM runtime
StructLayout capturedStateLayout = Linker.Option.captureStateLayout();
VarHandle errnoHandle =
capturedStateLayout.varHandle(
MemoryLayout.PathElement.groupElement("errno"));
Linker.Option ccs = Linker.Option.captureCallState("errno");
MethodHandle fopen = Linker.nativeLinker().downcallHandle(
lookup("fopen"),
FunctionDescriptor.of(POINTER, POINTER, POINTER),
ccs);
MemorySegment capturedState = arena.allocate(capturedStateLayout);
try {
// reading a non-existent file, this will set the errno
MemorySegment result =
(MemorySegment) fopen.invoke(capturedState,
// for our example we pick a file that doesn't exist
// this ensures a proper error number
arena.allocateUtf8String("nonexistent_file"),
arena.allocateUtf8String("r"));
int errno = (int) errnoHandle.get(capturedState);
System.out.println(errno);
return result;
} catch (Throwable e) {
throw new RuntimeException(e);
}
}
// returned char* require this specific type
static AddressLayout POINTER =
ValueLayout.ADDRESS.withTargetLayout(
MemoryLayout.sequenceLayout(JAVA_BYTE));
static MethodHandle strerror = Linker.nativeLinker()
.downcallHandle(lookup("strerror"),
FunctionDescriptor.of(POINTER,
ValueLayout.JAVA_INT));
static String errnoString(int errno){
try {
MemorySegment str =
(MemorySegment) strerror.invokeExact(errno);
return str.getUtf8String(0);
} catch (Throwable t) {
throw new RuntimeException(t);
}
}
When we then print the error string in our example after the fopen call, we get:
No such file or directory
This is as expected, as we hard-coded a non-existent file in the fopen call.
JExtract
Creating all the MethodHandles manually can be pretty tedious and error-prone. JExtract can parse header files, generating MethodHandles and more automatically. You can download jextract on the project page.
For our example, I wrote a small wrapper around jextract that automatically downloads the latest version and calls it on the misc/headers.h file to create MethodHandles in the class Lib. The headers file includes all the necessary headers to run examples:
Of course, we still have to take care of the string allocation in our wrapper, but this wrapper gets significantly smaller:
public static MemorySegment fopen(String filename, String mode) {
try (var arena = Arena.ofConfined()) {
// using the MethodHandle that has been generated
// by jextract
return Lib.fopen(
arena.allocateUtf8String(filename),
arena.allocateUtf8String(mode));
}
}
You can find the example code in the GitHub repository in the file HelloWorldJExtract.java. I integrated jextract via a wrapper directly into the Maven build process, so just mvn package to run the tool.
More Information
There are many other resources on Project Panama, but be aware that they might be dated. Therefore, I recommend reading JEP 454, which describes the newly introduced API in great detail. Additionally, the talk “The Panama Dojo: Black Belt Programming with Java 21 and the FFM API” by Per Minborg at this year’s Devoxx Belgium is a great introduction:
As well as the talk by Maurizio Cimadamore at this year’s JVMLS:
Conclusion
Project Panama greatly simplifies interfacing with existing native libraries. I hope it will gain traction after leaving the preview state with the upcoming JDK 22, but it should already be stable enough for small experiments and side projects.
I hope my introduction gave you a glimpse into Panama; as always, I’m happy for any comments, and I’ll see you next week(ish) for the start of a new blog series.
This article is part of my work in the SapMachine team at SAP, making profiling and debugging easier for everyone. Thank you to my colleague Martin Dörr, who helped me with Panama and ported Panama to PowerPC.
Or: I just released version 0.0.11 with a cool new feature that I can’t wait to tell you about…
According to the recent JetBrains survey, most people use Maven as their build system and build Spring Boot applications with Java. Yet my profiling plugin for IntelliJ only supports profiling pure Java run configuration. Configurations where the JVM gets passed the main class to run. This is great for tiny examples where you directly right-click on the main method and profile the whole application using the context menu:
But this is not great when you’re using the Maven build system and usually run your application using the exec goal, or, god forbid, use Spring Boot or Quarkus-related goals. Support for these goals has been requested multiple times, and last week, I came around to implementing it (while also two other bugs). So now you can profile your Spring Boot, like the Spring pet-clinic, application running with spring-boot:run:
Giving you a profile like:
Or your Quarkus application running with quarkus:dev:
Giving you a profile like:
This works specifically by using the options of these goals, which allows the profiler plugin to pass profiling-specific JVM options. If the plugin doesn’t detect a directly supported plugin, it passes the JVM options via the MAVEN_OPTS environment variable. This should work with the exec goals and others.
Gradle script support has also been requested, but despite searching the whole internet till the night, I didn’t find any way to add JVM options to the JVM that Gradle runs for the Spring Boot or run tasks without modifying the build.gradle file itself (see Baeldung).
Only Quarku’s quarkusDev task has the proper options so that I can pass the JVM options. So, for now, I only have basic Quarkus support but nothing else. Maybe one of my readers knows how I could still provide profiling support for non-Quarkus projects.
You can configure the options that the plugin uses for specific task prefixes yourself in the .profileconfig.json file:
{
"additionalGradleTargets": [
{
// example for Quarkus
"targetPrefix": "quarkus",
"optionForVmArgs": "-Djvm.args",
"description": "Example quarkus config, adding profiling arguments via -Djvm.args option to the Gradle task run"
}
],
"additionalMavenTargets": [
{ // example for Quarkus
"targetPrefix": "quarkus:",
"optionForVmArgs": "-Djvm.args",
"description": "Example quarkus config, adding profiling arguments via -Djvm.args option to the Maven goal run"
}
]
}
This update has been the first one with new features since April. The new features should make life easier for profiling both real-world and toy applications. If you have any other feature requests, feel free to create an issue on GitHub and, ideally, try to create a pull request. I’m happy to help you get started.
See you next week on some topics I have not yet decided on. I have far more ideas than time…
This article is part of my work in the SapMachine team at SAP, making profiling and debugging easier for everyone. Thanks to the issue reporters and all the other people who tried my plugin.
Both try to utilize a computation resource fully, be it hardware core or platform thread, by multiplexing multiple tasks onto it, despite many tasks waiting regularly for IO operations to complete:
When one task waits, another can be scheduled, improving overall throughput. This works especially well when longer IO operations follow short bursts of computation.
There are, of course, differences between the two, most notably: HyperThreading doesn’t need the tasks to cooperate, as Loom does, so a virtual core can’t starve other virtual cores. Also noteworthy is that the scheduler for Hyper-Threading is implemented in silicon and cannot be configured or even changed, while the virtual thread execution can be targeted to one’s needs.
I hope you found this small insight helpful in understanding virtual threads and putting them into context. You can find more about these topics in resources like JEP 444 (Virtual Threads) and the “Hyper-Threading Technology Architecture and Microarchitecture” paper.
This article is part of my work in the SapMachine team at SAP, making profiling and debugging easier for everyone.
Have you ever wanted to bring your JFR events into context? Adding information on sessions, user IDs, and more can improve your ability to make sense of all the events in your profile. Currently, we can only add context by creating custom JFR events, as I presented in my Profiling Talks:
We can use these custom events (see Custom JFR Events: A Short Introduction and Custom Events in the Blocky World: Using JFR in Minecraft) to store away the information and later relate them to all the other events by using the event’s time, duration, and thread. This works out-of-the-box but has one major problem: Relating events is quite fuzzy, as time stamps are not as accurate (see JFR Timestamps and System.nanoTime), and we do all of this in post-processing.
But couldn’t we just attach some context to every JFR event we’re interested in? Not yet, but Jaroslav Bachorik from DataDog is working on it. Recently, he wrote three blog posts (1, 2, 3). The following is a different take on his idea, showing how to use it in a small file server example.
The main idea of Jaroslav’s approach is to store a context in thread-local memory and attach it to every JFR event as configured. But before I dive into the custom context, I want to show you the example program, which you can find, as always, MIT-licensed on GitHub.
Example
We create a simple file server via Javalin, which allows a user to
Register (URL schema register/{user})
Store data in a file (store/{user}/{file}/{content})
Retrieve file content (load/{user}/{file})
Delete files (delete/{user}/{file})
The URLs are simple to use, and we don’t bother about error handling, user authentication, or large files, as this would complicate our example. I leave it as an exercise for the inclined reader. The following is the most essential part of the application: the server declaration:
This example runs on Jaroslav’s OpenJDK fork (commit 6ea2b4f), so if you want to run it in its complete form, please build the fork and make sure that you’re PATH and JAVA_HOME environment variables are set accordingly.
You can build the server using mvn package and start it, listening on the port 1000, via:
java -jar target/jfr-context-example.jar 1000
You can then use it via your browser or curl:
# start the server
java -XX:StartFlightRecording=filename=flight.jfr,settings=config.jfc \
-jar target/jfr-context-example.jar 1000 &
pid=$!
# register a user
curl http://localhost:1000/register/moe
# store a file
curl http://localhost:1000/store/moe/hello_file/Hello
# load the file
curl http://localhost:1000/load/moe/hello_file
-> Hello
# delete the file
curl http://localhost:1000/delete/moe/hello_file
kill $pid
# this results in the flight.jfr file
To make testing easier, I created the test.sh script, which starts the server, registers a few users and stores, loads, and deletes a few files, creating a JFR file along the way. We're using a custom JFR configuration to enable the IO events without any threshold. This is not recommended for production but is required in our toy example to get any such event: